A neighbour handed me her monstera with an apology. It had two leaves left, both yellow. The stem was leaning, the soil smelled sour, and the pot had no drainage holes. She'd bought it six months earlier, watered it every few days because the leaves kept drooping, and watched it get worse with every watering. She was about to throw it out.
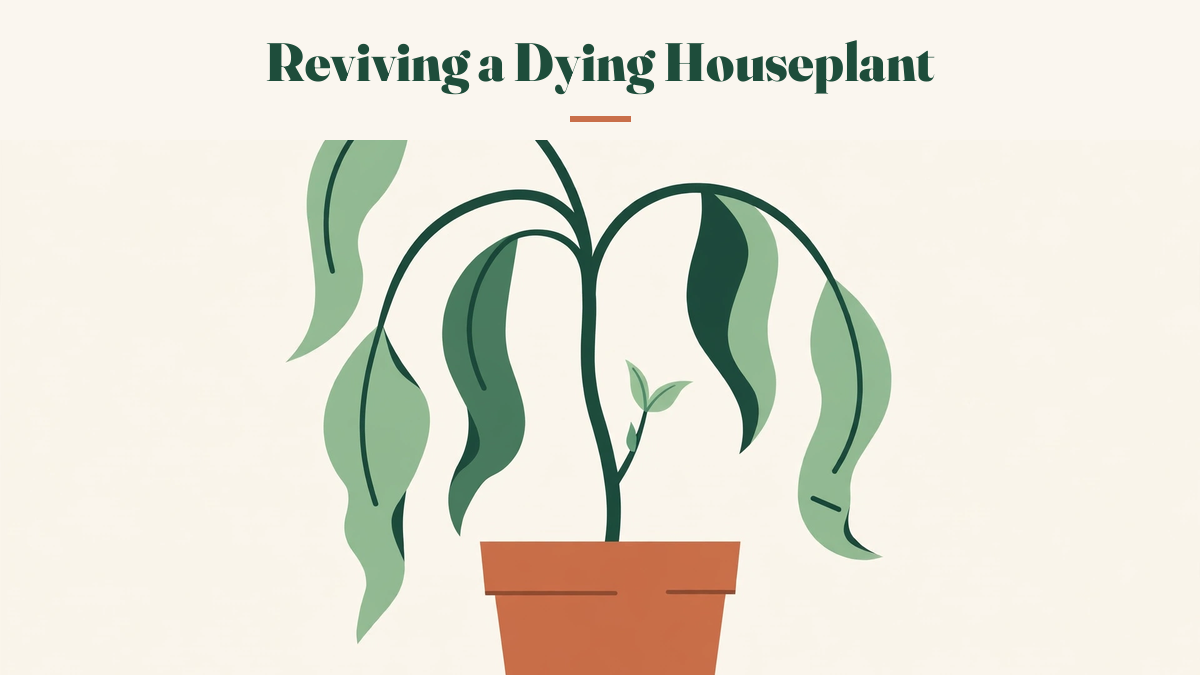
I took it home, unpotted it, and found what I expected: most of the roots were black and mushy, but a third of them were still firm and pale, and the stem was green under the surface when I scratched it. The plant wasn't dead. It was drowning. Eight weeks later it had four new leaves, and by spring it was unrecognisable. That monstera taught me the lesson this guide is built on: most "dying" houseplants aren't dead at all — they're suffering from one fixable problem, and the reason they die is that nobody diagnoses it before treating it.
Reviving a plant is triage, not guesswork. You check what's alive, you find the cause, you fix that one thing, and then you wait. This guide is the method I use now, in the order I use it.
Step zero: is it actually alive?
Before you do anything else, find out whether there's a plant left to save. Start with the leaves: a plant with even one green leaf has living tissue, and a plant with green anywhere is a plant worth checking further. Then run three quick tests, done in two minutes:
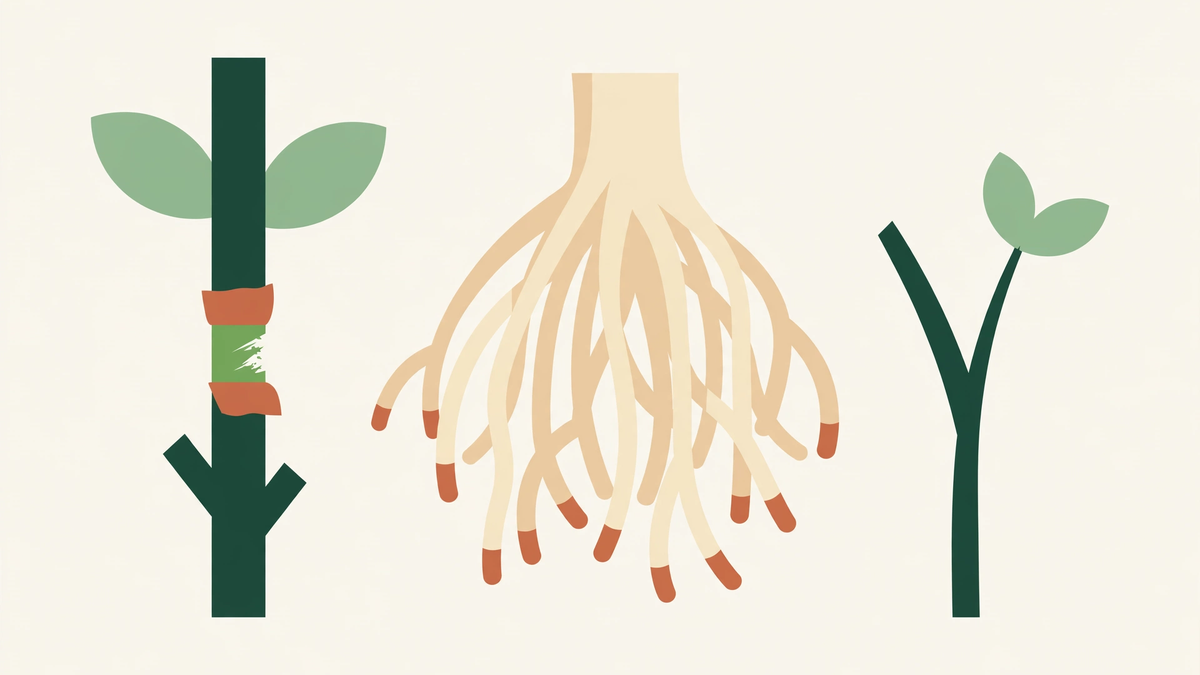
The scratch test. Scratch a small patch of bark off the stem with your fingernail. Green underneath means the tissue is alive. Brown and dry means that part of the stem is dead — but scratch lower down, because a plant can be dead at the top and alive at the base. If the stem is green at the base, the plant can regrow from there even if every leaf is gone. Work your way down the stem until you find green, or until you reach the soil — that tells you how much living plant you have left to work with.
The bend test. Try bending a stem gently. A living stem bends and feels firm; a dead stem snaps dryly or feels hollow. Soft, mushy stems are worse than dry ones — mush means rot has reached the stem, and rot in the stem is much harder to come back from than rot in the roots.
The root check. Slide the plant out of its pot and look at the roots. Healthy roots are firm and pale — white, cream, or light tan. Rotted roots are soft, brown to black, and often smell bad. The University of Wisconsin Extension describes diseased roots as soft and brown, sometimes with a bad odour, and lists wilting even though the soil is wet as the classic sign of root rot. If most of the roots are firm, the plant has a good chance. If all the roots are mush, the plant is almost certainly gone — but check the stem first, because a plant with a living stem and no roots can sometimes be re-rooted as a cutting.
| What you find | Verdict | What to do |
|---|---|---|
| Green stem, firm pale roots, some leaves left | Alive and saveable | Diagnose the cause and treat it — good odds |
| Green stem at the base, dead top, some firm roots | Alive but badly damaged | Cut back to living tissue, treat the cause, be patient |
| Brown dry stem all the way down, mushy roots, sour smell | Almost certainly dead | Take cuttings from any green growth first, then compost it |
| Soft, black, mushy stem base | Stem rot — very poor odds | Take cuttings above the rot immediately; the main plant rarely survives |
Be honest with yourself at this stage. A plant with no green tissue and no firm roots isn't going to come back, and the kindest thing is to take any viable cuttings and let the rest go. But a plant with a green stem and some firm roots — even one that looks terrible — is worth the effort. The monstera I rescued had two yellow leaves and a third of its roots left, and it came back.
The first 48 hours: stabilise before you treat
Once you know the plant is alive, resist the urge to fix everything at once. The first two days are for stabilising — getting the plant into conditions where it can survive while you work out the cause.
Move it to safety. Put the plant in bright indirect light, away from direct sun, radiators, cold windows, and draughts. A stable, warm spot with good air circulation. If you suspect pests, isolate it from your other plants at the same time — a sick plant next to healthy ones is a risk to the whole shelf.
Stop watering. Whatever the cause turns out to be, an extra day without water won't hurt a plant that's already struggling, and watering a drowning plant makes everything worse. Check the soil, note whether it's wet or dry, and leave the watering can alone until you've diagnosed the problem.
Tidy up, lightly. Remove leaves that are fully dead — brown, crispy, or mushy — with clean scissors. Leave anything with green on it. Clearing the dead tissue lets you see the plant clearly and stops rot from spreading from dead leaves to living ones.
Don't feed, don't repot, don't spray. Not yet. All three are treatments for specific problems, and you don't know the problem yet. The first 48 hours are for observation: watch the soil dry, watch the leaves, and run the diagnosis in the next section with a clear head.
This pause feels wrong when a plant is visibly suffering, but it's the most important part of triage. Every rescue I've rushed — repotting before checking the roots, spraying before identifying the pest, feeding a plant that was drowning — made things worse. The plant survived for weeks in bad conditions; it can survive two more days while you work out what's actually wrong.
The five killers, in the order I check them
Once you know the plant is alive, find out what's killing it. I check these five causes in order, because the first two account for most dying houseplants between them.
| Killer | The signs | The confirming check |
|---|---|---|
| 1. Overwatering / root rot | Wilting with wet soil, soft yellow leaves, sour smell, mushy roots | Soil wet days after watering; roots brown and soft |
| 2. Underwatering | Crispy leaves, dry soil pulling from the pot, light pot | Finger test dry 5 cm down; water runs straight through |
| 3. Too little light | Pale, stretched growth, leaves dropping, no new growth for months | Plant far from a window; stems reaching toward the light |
| 4. Pests | Stippled, sticky, or distorted leaves; visible insects; fine webbing | Magnifying glass on leaf undersides; white-paper tap test |
| 5. Shock | Sudden decline after a move, repot, or cold snap | The timing — the decline started within days of a change |
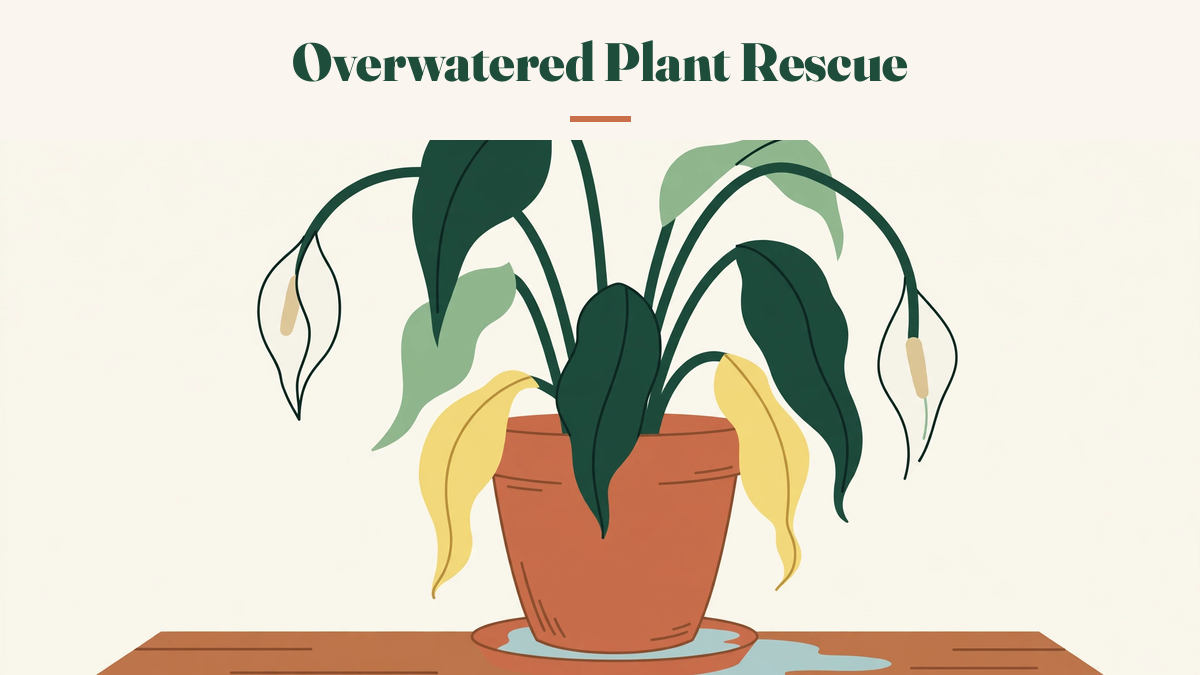
Overwatering is the most common killer and the most counterintuitive. The plant wilts, so you water it, and the wilting gets worse — because the problem was never thirst. Waterlogged soil suffocates the roots, and the fungi and water moulds that cause root rot thrive in wet, airless mix. Iowa State Extension notes that wilting from root rot prompts more watering, which worsens the rot that caused the wilting in the first place. It's a death spiral, and the only way out is to stop watering and let the roots breathe. If this is your plant's problem, my guide to root rot covers the full rescue in detail.
Underwatering is the most forgiving killer. A thirsty plant looks dramatic — flat, limp, crispy — but if the roots are alive, it usually bounces back within hours of a good soak. The danger is a plant that's been dry so long the soil has gone hydrophobic: water runs down the sides of the pot without soaking in. Bottom-watering fixes that — set the pot in a bowl of water for twenty to thirty minutes so the mix can soak up moisture from below.
Too little light kills slowly. The plant doesn't wilt or spot — it just fades. Growth stops, leaves yellow and drop one by one, and the stems stretch toward the nearest window. A plant that's been in a dark corner for months is starving, and the fix is a move to brighter light — gradually, not all at once, or you'll add sunburn to the list of problems.
Pests kill by draining the plant over weeks. A heavy infestation of spider mites, mealybugs, or scale can weaken a plant to the point where it can't recover from anything else. Check the leaf undersides with a magnifying glass or phone zoom — fine webbing means mites, white cottony clusters mean mealybugs, small brown bumps mean scale. Isolate the plant and treat the pest before anything else, because a plant fighting pests can't recover.
Shock is the fastest killer and the simplest to diagnose: the plant was fine, something changed, and now it's not. A move to a new home, a repot, a cold draught, or a sudden light change can all cause a plant to drop leaves and droop within days. The treatment is the opposite of what your instincts suggest — don't repot it, don't move it again, don't feed it. Keep conditions steady and wait. My guide to drooping plants covers shock in detail, including the recovery timeline.
When there's more than one killer. Badly neglected plants often have two problems at once — overwatering plus low light is the most common pair, and pests plus underwatering runs a close second. If you fix the first cause and the plant doesn't improve after two weeks, re-run the diagnosis: there's usually a second cause hiding behind the first. Fix them one at a time, in the same order, and give each fix time to work before moving on.
The rescue repot, step by step
If the roots are the problem — rot, or a pot with no drainage — the plant needs a rescue repot. This is the one time repotting a stressed plant is the right call, because leaving it in rotting mix is worse than the stress of moving it. Here's the sequence I use:
1. Prepare first. Clean scissors or secateurs (wipe with rubbing alcohol), fresh potting mix, a pot with drainage holes one size up at most — or the same size if you've trimmed a lot of roots. The University of Wisconsin Extension advises using pasteurised commercial potting mix, not garden soil, and decontaminating clay pots with a 10% bleach solution or alcohol before reuse.
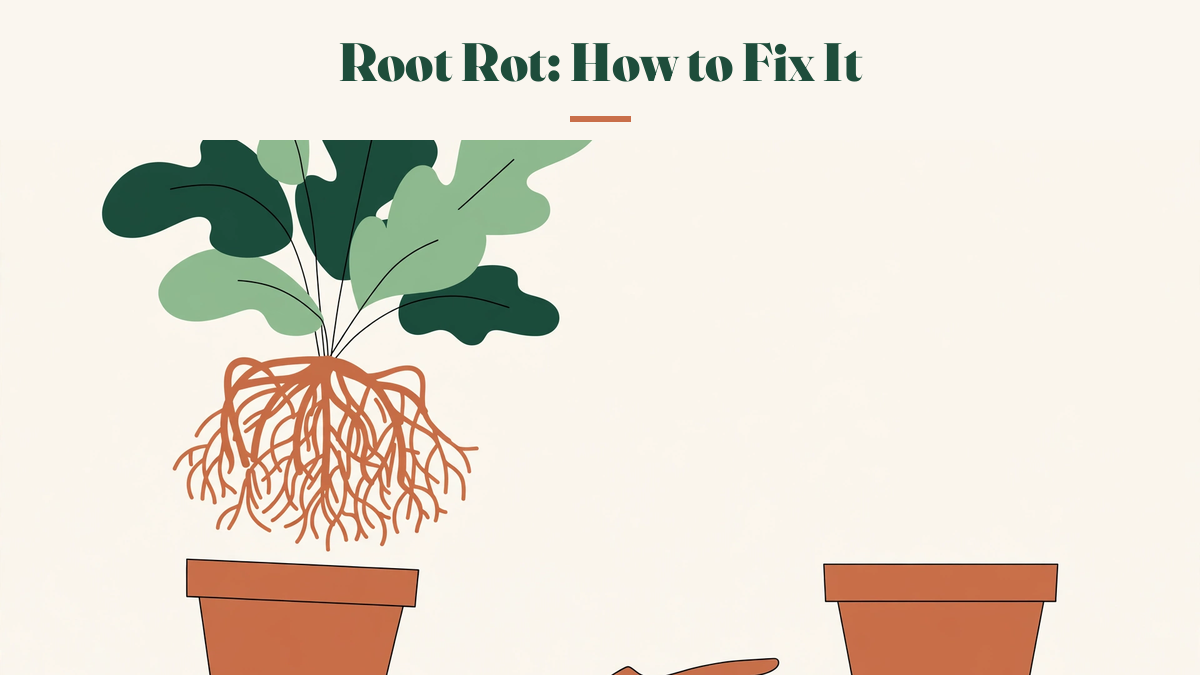
2. Unpot and inspect. Slide the plant out gently. Shake or rinse off the old mix so you can see the roots clearly. Don't reuse the old mix — pathogens persist in it.
3. Trim the rot. Cut away every root that's black, mushy, or hollow, back to firm, pale tissue. Wipe the blade between cuts. Be thorough: rot left behind will spread to the healthy roots. Also trim any leaves that are fully yellow or dead — they won't recover, and removing them lets you see whether new damage appears.
4. Repot into fresh mix. Use a free-draining mix — standard houseplant compost with a generous handful of perlite mixed in. Don't put rocks or gravel at the bottom of the pot; Wisconsin Extension advises against it because it can impede drainage. Set the plant at the same depth it was before, firm the mix gently, and water lightly — just enough to settle the mix, not a full soak.
5. Aftercare. Put the plant in bright indirect light with good air circulation, and leave it alone. Don't feed it. Don't water again until the top few centimetres of soil feel dry. The plant needs weeks, not days, and the first week will look like nothing is happening.
If the plant's problem isn't the roots, skip the repot entirely. Repotting a shocked or thirsty plant adds stress it doesn't need. Fix the cause first, and repot later if the plant actually needs it.
The 8-week recovery log
This is the log I kept for the rescued monstera — the neighbour's plant from the introduction. I'm including it because recovery is slower than you'd expect, and knowing what's normal stops you from panicking in week two and changing something that didn't need changing.
| Week | What I did | What the plant looked like |
|---|---|---|
| Week 1 | Trimmed rot (about two-thirds of the roots), repotted into fresh mix with perlite, watered lightly | Two yellow leaves, leaning stem, no change. Looked worse, if anything — one leaf went fully yellow and I removed it. |
| Week 2 | Nothing except checking the soil | Still one leaf. Stem firm. Soil drying normally between checks — the first good sign, because it meant the remaining roots were working. |
| Week 3 | Nothing | The remaining leaf looked greener. A tiny bump appeared at a node — the first sign of new growth. |
| Week 4 | Watered when the top soil dried | The bump became a visible new leaf, still furled. The old leaf looked healthier. |
| Week 5 | Nothing | New leaf unfurling. A second growth point swelling. |
| Week 6 | Watered; rotated the pot a quarter turn | Two new leaves open, both small but green and healthy. The plant looked like a plant again. |
| Week 7 | Nothing | Third new leaf emerging. The stem was straightening. |
| Week 8 | Watered; fed at quarter strength for the first time | Four new leaves, firm stem, normal watering rhythm restored. Recovery complete — the plant was growing on its own. |
The pattern is the lesson: weeks 1–2 look like nothing is happening, week 3 shows the first sign, and weeks 5–8 are when the plant visibly comes back. If I'd judged the rescue at week 2, I'd have concluded it failed. The plant was recovering underground, where I couldn't see it, and the soil drying normally was the evidence — roots that take up water are roots that work.
When the plant is gone but the cuttings aren't
Sometimes the main plant can't be saved — the stem base is soft and black, or every root is mush — but there's still healthy growth above the rot. That's not the end. That's a propagation project.
Take cuttings from any stem that is firm and green, cutting above the rot with clean scissors. For most trailing plants, a cutting needs a node — the bump on the stem where leaves and roots grow from. My guide to taking stem cuttings covers the technique, but the short version is: cut below a node, remove the lower leaves, and root in water or moist mix. Check the cuttings carefully for pests before you bring them near your other plants — a rescue cutting can carry the same pests that weakened the parent.
For rescue cuttings I root in water, not soil. Water lets me see the roots developing, and a cutting from a stressed plant is easier to monitor in a jar than buried in mix. Change the water weekly, keep the jar in bright indirect light, and pot the cutting up once the roots are a few centimetres long. If the cutting rots in water — the stem goes soft and dark — cut above the rot and try again with the remaining healthy stem. A rescue cutting is a second chance, not a guarantee, and it sometimes takes two attempts.
This is also the right call when a plant is mostly dead but has one healthy section. Don't try to save the whole plant out of sentimentality — save the living part and let the rest go. A cutting from a dying monstera becomes a new monstera, and it's a better outcome than watching the parent rot slowly while you hope.
What not to do to a dying plant
Most of the damage done to dying plants is done by well-meaning rescue attempts. The don'ts:
Don't fertilise a stressed plant. Fertiliser on damaged roots can burn them, and a plant that isn't growing can't use the nutrients anyway. Wait until new growth is steady, then feed at half strength. I waited eight weeks with the monstera.
Don't repot unless the roots are the problem. Repotting is stressful. A shocked or thirsty plant doesn't need it, and repotting twice in a short period can finish off a plant that would otherwise have recovered.
Don't move it around looking for the perfect spot. Every move is a new adjustment. Pick a spot with bright indirect light and steady temperatures, put the plant there, and leave it. If you move it every few days, you'll never know whether it's recovering or just reacting to the latest change.
Don't water on a schedule. A recovering plant's water needs are unpredictable — damaged roots take up less water than healthy ones, so the soil stays wet longer. Check the soil before every watering, and water only when the top few centimetres are dry.
Don't prune everything at once. Remove dead leaves, yes. But don't cut a struggling plant back to a stump in one go — every green leaf is feeding the recovery. Prune the dead tissue, leave the living tissue, and let the plant decide what to shed.
Don't spray it with everything at once. If you've diagnosed a pest, treat the pest. If you haven't, don't spray "just in case" — a stressed plant doesn't need oil or soap on its leaves on top of everything else.
The aftercare routine
Once the plant is stable — new growth appearing, soil drying normally between waterings — the aftercare is simple and boring, which is exactly what recovery looks like:
- Light: bright indirect light, steady position. No direct sun until the plant is growing strongly.
- Water: check the soil before every water. Water thoroughly when the top few centimetres are dry, then empty the saucer. Never let the plant sit in water.
- Feeding: wait until new growth is steady — at least a month after the rescue — then feed at half strength during the growing season. Skip feeding entirely in winter.
- Monitoring: check the plant weekly for new growth, new damage, and pests. New leaves are the verdict: green and healthy means the plant has recovered; distorted or spotted new growth means something is still wrong.
- Patience: a plant that lost most of its roots or leaves needs months to look like itself again, not weeks. The monstera took eight weeks to grow four leaves and a full season to look like a monstera. That's normal.
When to declare it recovered. I call a plant recovered when it has put out three healthy new leaves in a row, the soil is drying on a normal rhythm, and no new damage has appeared for a month. At that point it goes back to a normal care routine — regular watering checks, feeding in the growing season, and its permanent spot on the shelf. Until then, it stays in the recovery spot, on the boring routine, with weekly checks. The plants that relapse are almost always the ones that got declared recovered too early and went back to the conditions that nearly killed them.
And if the plant doesn't make it despite your best effort, that's not failure — it's information. Every plant I've lost taught me something that saved the next one. The neighbour's monstera survived because I'd already killed enough plants to know what drowning looked like. The knowledge compounds, even when the plants don't.
Frequently asked questions
How do I know if my houseplant is dead or just dying?
Scratch the stem with a fingernail: green underneath means alive, brown and dry means that part is dead. Check the roots too — firm, pale roots mean the plant can recover even if all the leaves are gone.
Can you revive a plant with root rot?
Yes, if some healthy roots remain. Trim all black, mushy roots back to firm tissue, repot into fresh mix, and water sparingly. If the stem base is soft and black, take cuttings from healthy growth instead.
Should I cut off all the dead leaves on a dying plant?
Remove leaves that are fully dead or yellow — they won't recover and they hide new problems. Leave any leaf with green on it; it's still feeding the plant.
Should I repot a dying plant?
Only if the roots are the problem — rot, or a pot with no drainage. Repotting is stressful, so don't do it for a plant that's only shocked or thirsty. Fix the cause first.
How long does it take to revive a dying houseplant?
Weeks to months, not days. Thirsty plants perk up in hours, but root rot recovery takes 4–8 weeks before new growth appears. Judge recovery by new leaves, not by the old ones.
Should I fertilize a dying plant?
No. Fertilizer on stressed or damaged roots can burn them. Wait until the plant is growing new leaves steadily, then feed at half strength.
If you remember one thing… diagnose before you treat — check the stem and roots first, fix the one cause that's actually killing the plant, and then give it weeks of steady, boring care while it recovers underground.