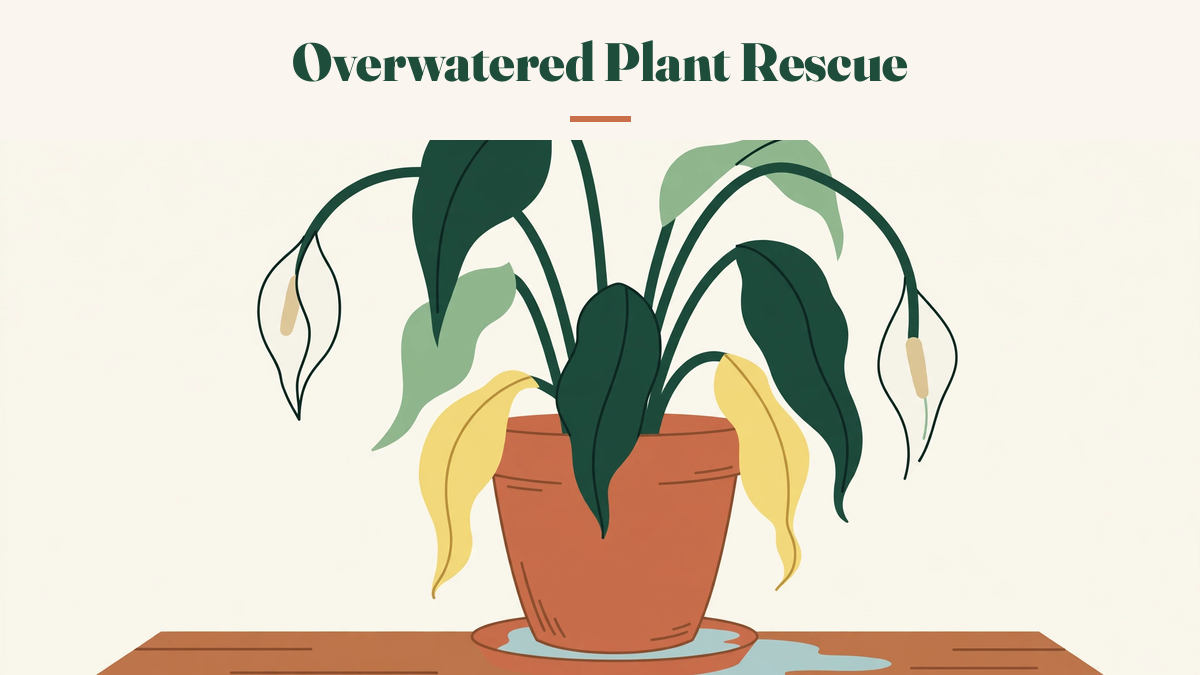
The plant that taught me about root rot was a calathea I'd had for two years. It had been thriving — big patterned leaves, new growth every month — and then, over about three weeks, it fell apart. Leaves yellowed from the bottom up, then drooped, then went brown at the edges. I watered it, because drooping means thirsty, right? Then I moved it to a brighter spot. Then I fed it. Nothing helped, and I couldn't understand why, because I was doing all the things you're supposed to do for a struggling plant.
When I finally took it out of the pot, the answer was obvious and awful: most of the roots were black, soft, and slimy, and the soil smelled like a pond. The plant had been drowning for weeks while I poured more water on it. I managed to save a small division with healthy roots — the main plant didn't make it — and I learned the lesson that now shapes how I water everything: root rot starts underground, invisible, and by the time the leaves show it, you're already late.
This guide is about catching it earlier than I did, rescuing the plants that can be rescued, and building a watering and potting routine that makes rot unlikely in the first place. Root rot is the most common houseplant killer there is — and it's also one of the most preventable.
What root rot actually is
Root rot isn't a single disease — it's what happens when roots sit in waterlogged soil for too long. Healthy roots need oxygen as well as water. Soil is full of tiny air pockets, and roots breathe through them. When those pockets stay filled with water instead of air, the roots suffocate and begin to die. Fungi that live in damp soil — mostly Pythium and Phytophthora, if you like names — then move in on the weakened tissue and finish the job.
That's why root rot is a watering problem before it's a fungus problem. The fungi are almost always present in potting mix; they're opportunists, not invaders. They only become a problem when the roots are already stressed by too much water. Fix the water, and you fix the rot — which is good news, because it means prevention is mostly about how you water and pot, not about chemicals.
Two things make root rot so dangerous indoors:
- It's invisible until it's advanced. The damage happens underground. By the time leaves yellow, a large part of the root system may already be gone.
- It mimics thirst. A plant with rotting roots can't take up water, so it droops and wilts — exactly like an underwatered plant. The instinct is to water more, which is the worst thing you can do.
Understanding that second point is what separates people who lose plants to rot from people who catch it. Whenever a plant droops, check the soil before reaching for the watering can. Wet soil plus drooping leaves is the classic rot signal.
Which plants are most at risk? Almost any houseplant can rot if it's kept wet enough for long enough, but some are far more vulnerable than others. Succulents and cacti, snake plants, ZZ plants, and string of pearls are built for dry conditions — their roots rot fast in soggy soil, sometimes within days. Calatheas, ferns, and peace lilies like moisture but still need air around their roots; they rot more slowly but just as surely. Pothos and philodendron are more forgiving and often recover well. Knowing where your plant sits on that scale tells you how urgently to act when you spot the signs.
How to spot it: the five signs
No single sign proves root rot — but two or three together mean you should check the roots today, not next week.
1. Yellow leaves starting from the bottom. The plant drops its oldest leaves first as the root system fails. If you're seeing yellow leaves on your houseplants alongside wet soil, rot is the first thing to rule out.
2. Soil that stays wet. If the top of the soil is still damp a week after watering — or the pot feels heavy days later — the roots aren't drinking. Either they're damaged, or the soil is too dense and holding too much water. Both lead to the same place.
3. A sour, musty smell from the pot. Healthy soil smells earthy. Rotting roots smell like stagnant water or a swamp. Lean close to the soil surface and sniff — it sounds odd, but it's one of the most reliable early checks there is.
4. Drooping leaves despite wet soil. This is the paradox that catches people out. A plant with wet soil and drooping leaves is not thirsty — its roots are too damaged to take up the water that's right there.
5. A soft or dark stem at the base. If the stem feels mushy where it meets the soil, or has gone dark and soft, the rot has reached the stem. This is the most advanced sign, and it means you need to act immediately — the plant may only be saveable as cuttings.
If you recognise two or more of these, the next step is the root check. Don't wait to see if it gets better on its own. It won't.
The root check: what you're looking for
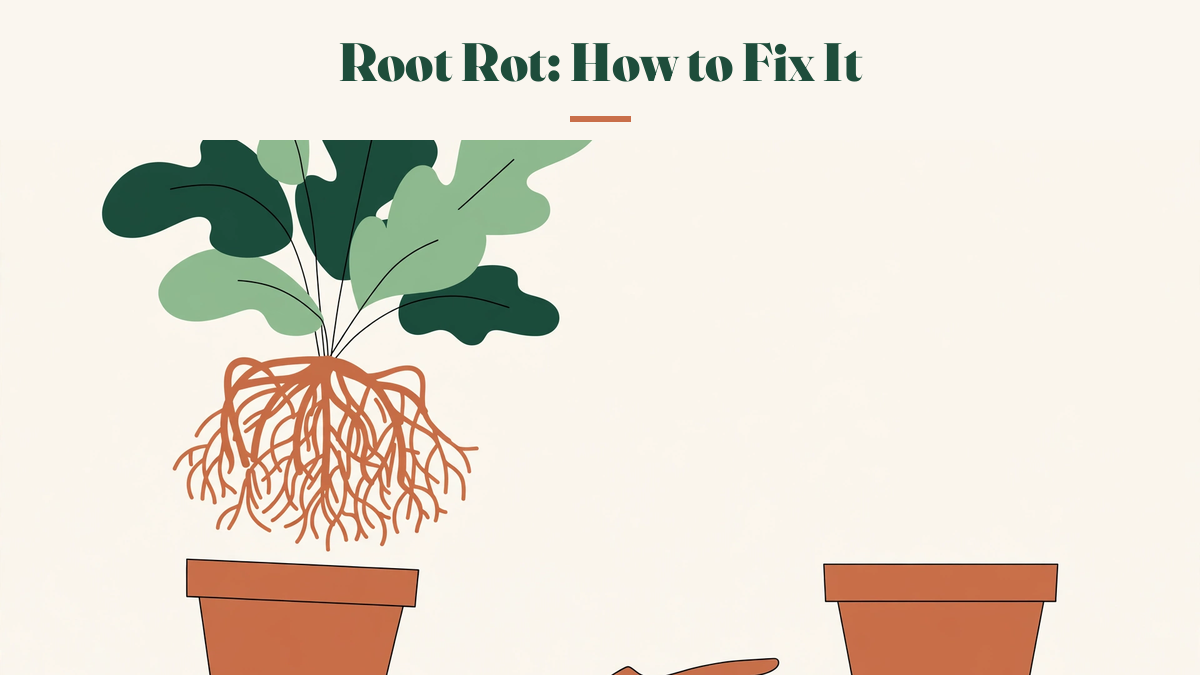
Take the plant out of its pot — tip it sideways, support the stem, and slide the root ball out. Don't worry about disturbing the plant; a root check is far less stressful than rot. Gently shake off loose soil, and if the soil is very wet, rinse the roots under lukewarm running water so you can see them clearly.
| Healthy roots | Rotting roots | |
|---|---|---|
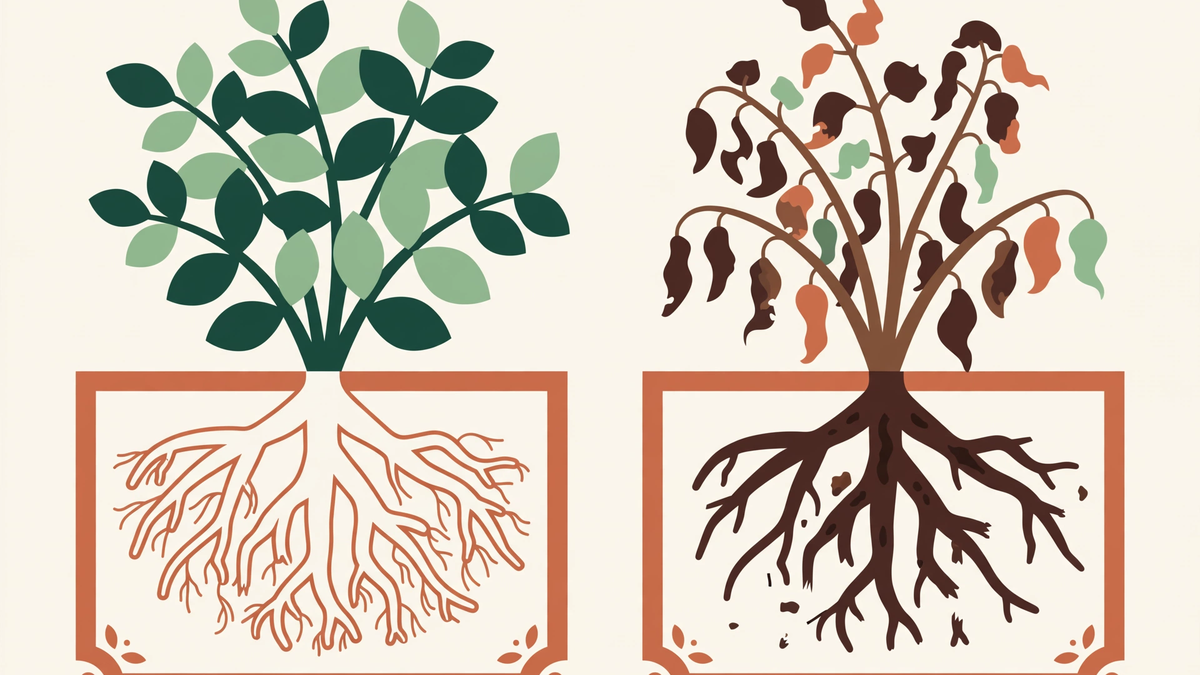
| Colour | White, cream, or pale tan | Brown, grey, or black |
| Feel | Firm and springy | Soft, mushy, or slimy |
| The tug test | Outer layer stays on when pulled gently | Outer layer slides off, leaving a thin stringy core |
| Smell | Earthy, like fresh soil | Sour, swampy, or rotten |
| Break test | Snap cleanly when bent | Collapse or tear without snapping |
The tug test is the most useful check if you're unsure. Take a root between your fingers and pull gently. A healthy root holds together. A rotten root's outer layer slips off like a sleeve, leaving behind a thin, wiry strand. If that happens, the root is dead — it needs to come off.
How bad is it? If most roots are healthy and only a few are rotten, the plant will almost certainly recover. If about half are rotten, it's a serious rescue but very doable. If almost all the roots are gone and the stem is soft at the base, the plant itself may not survive — but cuttings from healthy growth above the rot often will. Don't give up until you've looked at the stem: if the stem is still firm and green above the rot line, there's usually something to save.
The rescue: step by step
This is the process I now follow for any plant with confirmed root rot. It takes about half an hour, and it's the same whether the plant is a pothos or a fiddle-leaf fig.
What you need: clean, sharp scissors or pruning shears; fresh potting mix (airy and free-draining); a clean pot with drainage holes (the same size or one size smaller than the current pot); a bowl of lukewarm water; optional: 3% hydrogen peroxide, diluted to half strength.
- Unpot and rinse. Slide the plant out of its pot and rinse the roots under lukewarm water until you can see them clearly. Remove all the old soil — it holds the fungi that caused the rot, and you don't want any of it in the fresh pot.
- Trim every rotten root. Cut back to healthy tissue: firm, pale root. Be thorough — a rotten root left in place will spread rot to its neighbours. Sterilise your scissors between cuts if the rot is extensive (a quick wipe with rubbing alcohol or diluted peroxide works).
- Check the stem. If the base of the stem is soft or dark, cut upward until you reach firm, healthy tissue. If you have to cut the stem entirely, the plant becomes a cutting — pot the healthy top into fresh mix and treat it as a propagation.
- Optional: a peroxide rinse. Soak the trimmed roots in diluted hydrogen peroxide (one part 3% peroxide to one part water) for 10–15 minutes. This kills surface fungi and adds oxygen to the root zone. It's not essential, but I do it for bad cases and it seems to help.
- Repot into fresh, airy mix. Use new potting mix — never reuse the old soil. A chunky mix with bark and perlite gives the recovering roots the air they need. The best soil mix for indoor plants guide has my full recipe.
- Choose the right pot. Go the same size or one size smaller — a big pot holds too much wet soil around a reduced root system. The pot must have drainage holes. If the old pot is sound, wash it thoroughly with hot soapy water before reusing it.
- Water lightly, then wait. Water just enough to settle the mix around the roots, let it drain fully, and then don't water again until the top few centimetres are dry. The plant has fewer roots than before — it needs less water, not more.
- Put it in bright, indirect light. Good light helps the plant photosynthesise and grow new roots. Avoid direct sun while it recovers — the reduced root system can't keep up with the water loss.
- Don't feed it. A recovering plant doesn't need fertiliser, and fertiliser salts can burn damaged roots. Wait until you see new growth, then feed at half strength.
The hardest part of the rescue is what comes next: doing nothing. A rescued plant will look worse before it looks better. It may drop more leaves. It may sit still for weeks. That doesn't mean the rescue failed — it means the plant is putting its energy into roots, which you can't see. Patience is the treatment.
The recovery timeline: what to expect week by week
One of the hardest things about rescuing a plant is not knowing whether it's working. The timeline below is what a typical recovery looks like for a plant that had moderate rot — about half its roots lost. Timings vary by plant and season (spring rescues recover faster than winter ones), but the shape is consistent.
| When | What you'll see | What to do |
|---|---|---|
| Week 1 | More leaves may yellow and drop. The plant looks sad. This is normal — it's adjusting to fewer roots. | Nothing. Keep the soil barely moist, not wet. Bright indirect light. |
| Week 2 | Yellowing stops. Remaining leaves look stable — no new damage. The plant isn't growing, but it isn't declining. | Still nothing. Resist the urge to "help" with fertiliser or extra water. |
| Week 3–4 | The plant looks the same — frustratingly still. Underground, new root tips are forming. | Check soil moisture only. If the top is dry, water lightly. |
| Week 5–8 | First signs of new growth: a tiny new leaf, a fresh shoot, or firmer, perkier existing leaves. | This is the all-clear. Resume normal (careful) watering. Still no feeding yet. |
| Week 8–12 | Steady new growth. The plant is visibly recovering — new leaves, stronger stems. | Start feeding at half strength. Treat it as a normal plant again. |
If there's no new growth after three months and the plant is still declining, the rescue probably didn't take — but that doesn't mean the plant is entirely lost. See the cuttings section below.
A rescue I logged: saving a pothos
The clearest rescue I've done was a golden pothos that a friend nearly threw away. It had been sitting in a pot without drainage holes, watered weekly, and it was down to four yellow leaves on a long bare vine. I took it home and logged the rescue, because I wanted to know exactly how long recovery takes when you do everything right.
Day 0: Unpotted. About 70% of the roots were black and mushy. The stem was still firm above the soil line. I trimmed the roots back to the healthy white ones (not many), cut the vine back to the firmest 30 cm, and repotted the remaining root ball into a small pot with fresh chunky mix. I also took two cuttings from the trimmed vine and put them in water as insurance.
Week 2: The plant dropped two more leaves — down to two. The cuttings in water had started rooting. I was fairly sure the main plant was going to die.
Week 4: No further leaf loss. The two remaining leaves looked firm and green. Nothing new growing, but nothing dying either.
Week 6: A tiny new leaf appeared at the tip of the vine. It was small — about the size of a thumbnail — but it was green and healthy. The cuttings had good root systems by now and I potted them into the same pot to fill it out.
Week 10: Three new leaves, each bigger than the last. The plant was clearly recovering.
Month 6: A full, trailing pothos with a dozen healthy leaves. You'd never know it had been near death.
The total rescue took about ten weeks to show real results and six months to look like a proper plant again. The lesson: root rot recovery is measured in months, not days. The plants that survive are the ones whose owners don't give up in week three.
When the plant can't be saved — take cuttings
Sometimes the roots are gone and the stem is rotting upward, and no amount of trimming leaves you with a viable plant. That doesn't mean the plant is entirely lost. If there's any firm, healthy stem above the rot, you can usually propagate from it.
For trailing plants (pothos, philodendron, monstera): cut the stem below a node — the knobbly bit where a leaf or aerial root grows — and put the cutting in water or moist soil. Roots usually appear within two to four weeks. The full process for monstera is in how to propagate monstera from a cutting.
For plants with a single stem (dracaena, fiddle-leaf fig): cut the stem above the rot line, let the cut end dry for a day, then place it in water or moist mix. The remaining stump may also sprout new growth from below the cut — don't throw it away until you've given it a few months.
For plants with rhizomes or bulbs (ZZ plant, snake plant): cut away all rotten tissue, let the healthy pieces dry for a day or two to callous over, then repot into dry mix and water very sparingly.
The point is: rot in the roots doesn't always mean the end. A cutting from a dying plant is still the same plant, genetically — and in a few months it can be a healthy plant again.
Prevention: the system that stops rot before it starts
Rescuing plants is satisfying, but not needing to rescue them is better. After losing that calathea, I rebuilt my whole watering and potting routine around one principle: roots need air as much as they need water. Everything below follows from that.
Water by feel, not by schedule. Check the top 5 cm of soil before every watering. If it's damp, wait. Different plants, pots, and seasons change the rhythm constantly — a schedule can't keep up, but your finger can. This one habit prevents more rot than anything else.
Every pot needs drainage holes. I won't keep a plant in a pot without holes anymore — not even a "careful" one. If you love a decorative pot, use it as a cover pot and keep the plant in a nursery pot inside. Empty the cover pot after watering. The full reasoning is in do houseplants need drainage holes.
Use airy soil. Straight potting compost compacts and stays wet. Mixing in orchid bark and perlite keeps air pockets open around the roots even after watering. My standard mix is roughly equal parts compost, bark, and perlite — it looks too chunky at first, and then the plants grow faster than they ever did in dense mix.
Match the pot to the roots. A pot that's much bigger than the root system holds a large volume of soil that stays wet long after the roots have had enough. When repotting, go up only 3–5 cm at a time. Small pots dry faster, and fast-drying soil is rot-resistant soil.
Water less in winter. Growth slows in winter, so plants drink less. A plant watered weekly in summer may need water only every three or four weeks in winter. The most dangerous time for root rot is late autumn, when people keep watering on their summer schedule while the plant has already slowed down.
Improve air circulation. Stagnant, humid air around pots keeps soil wet longer. A room with gentle airflow — an open door, a fan on low, a window cracked — dries the top of the soil between waterings and makes rot much less likely. Don't put plants in sealed, airless corners.
Repot on schedule. Old, compacted soil holds water differently from fresh mix. Most houseplants benefit from fresh soil every one to two years, even if they don't need a bigger pot. Spring is the time for it.
None of these is complicated. Together, they form a system where rot struggles to get started — and that's the real goal. A plant in airy soil, in a draining pot, watered by feel, in a room with airflow, is a plant that almost never rots.
Frequently asked questions
Can a plant recover from root rot?
Yes, if healthy roots and stem remain. Trim the rot, repot into fresh airy mix, and water sparingly while it recovers.
How do I know if my plant has root rot?
Yellow leaves plus soil that stays wet, a sour smell from the pot, and dark soft roots when you unpot it.
Should I remove all the old soil when treating root rot?
Yes. Shake and rinse off the old mix — it holds the fungi that caused the rot — and repot into fresh, free-draining soil.
Can I reuse soil from a plant with root rot?
No. Discard it. The fungi survive in old mix and will infect the next plant you put in it.
How long does it take a plant to recover from root rot?
Weeks to months. New growth is the sign of recovery — expect the first new leaf in 4–8 weeks if the rescue worked.
If you remember one thing… wet soil plus drooping leaves means stop watering and check the roots — the plant isn't thirsty, it's drowning, and the fix starts underground.