The cutting that taught me the most was a tradescantia stem I rooted upside down. I had taken several stem sections from a leggy plant, laid them on the table while I prepared the pots, and then planted two of them the wrong way up. They sat in the soil for a month doing absolutely nothing — no roots, no new growth, just slowly drying out from the top down. I assumed they were duds and nearly threw them away before I noticed the leaf scars were pointing the wrong way. I flipped them, and both rooted within three weeks.
Iowa State's stem-cutting guide warns about exactly this: stem segments will not root upside down, which is why they suggest angling the bottom cut as a reminder of which end is down. It is a small detail, and it is the kind of detail that decides whether a cutting roots or rots. Stem cuttings are not difficult, but they are unforgiving about the details — the cut, the node, the medium, the humidity. Get those right and most houseplants will root. Get one wrong and the cutting sits there, quietly failing, while you wonder what happened.
This guide covers the whole method, from choosing the stem to potting up the rooted cutting, plus a log of five species I rooted on one windowsill so you can see how different plants behave under identical conditions.
What a cutting actually is
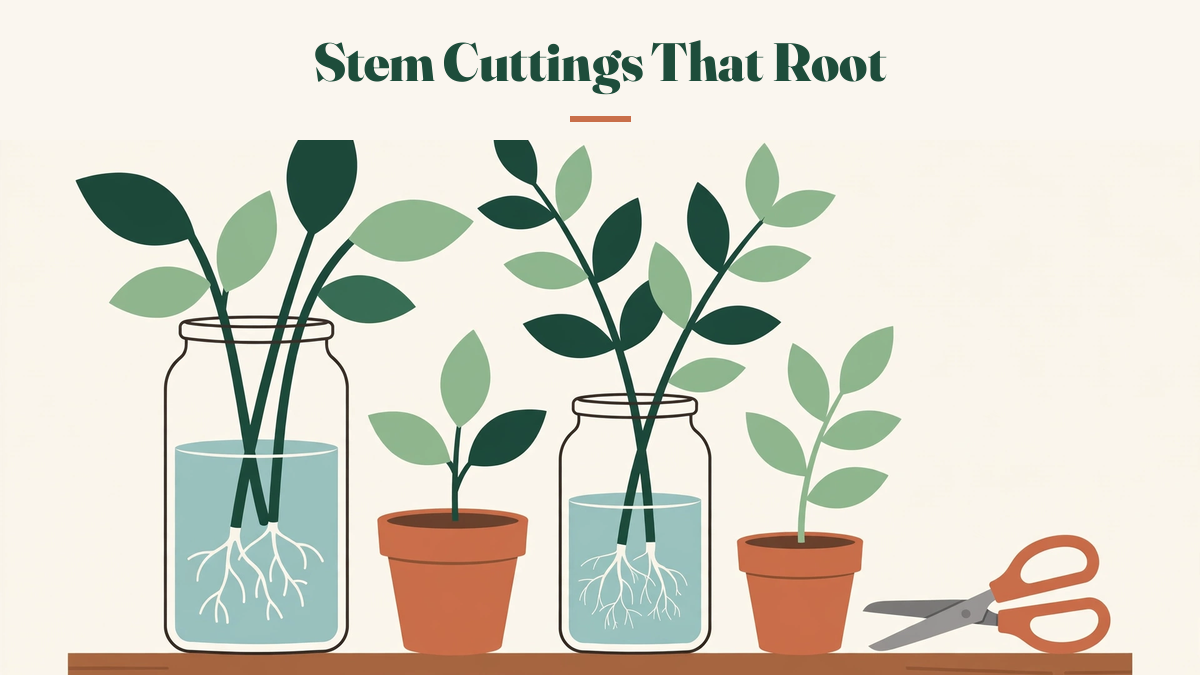
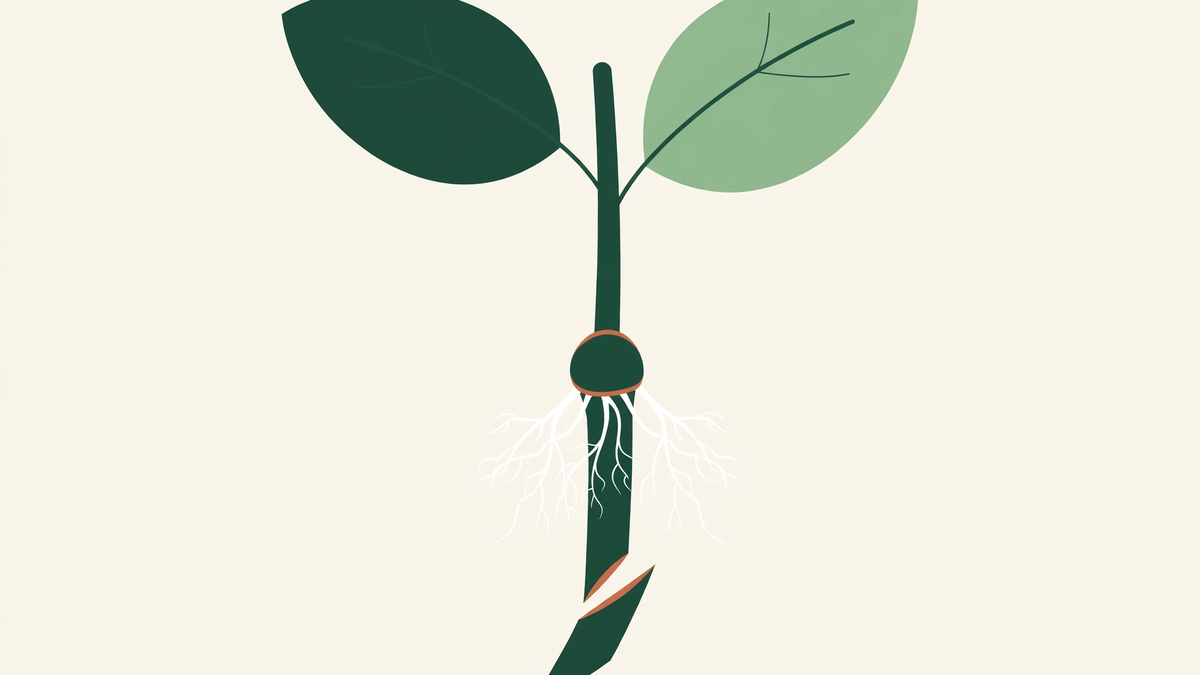
A stem cutting is a piece of stem with leaves and buds on it, cut from the parent plant and encouraged to grow its own roots. It works because stems carry dormant buds at the nodes — the points where leaves join the stem — and those buds can become roots when they are kept moist and dark, or shoots when they are kept in light. The cutting is essentially a small, self-contained plant waiting for the right conditions to start again.
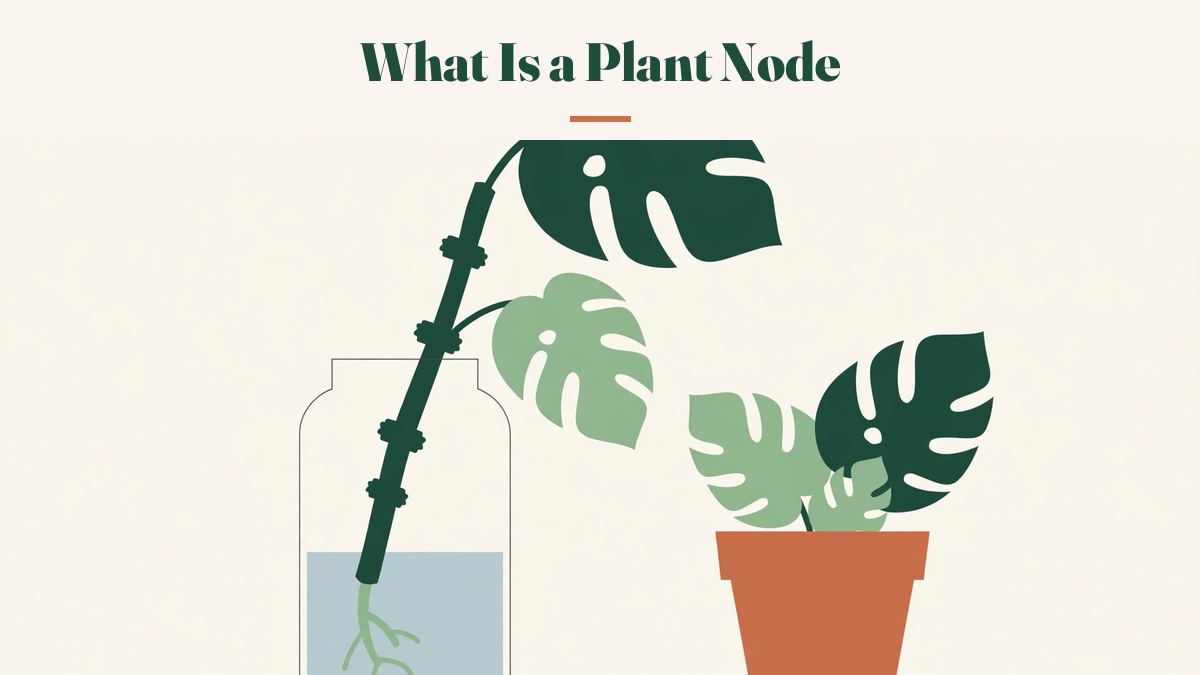
The most important part of any cutting is the node. Roots form from the buds at the nodes on the lower part of the stem, so a cutting needs at least one node buried in the rooting medium — and ideally two nodes on the cutting, one below the surface and one above. A cutting with no node, just a stretch of bare stem, has no buds to grow roots from and will not root. This is the same rule that governs propagating monstera from a cutting, and it applies to almost every houseplant that roots from stems.
The second most important thing is the leaves. Leaves are the cutting's only source of food — it has no roots yet, so it cannot take up nutrients, and it lives off what its leaves make through photosynthesis. A cutting with no leaves starves. A cutting with too many leaves loses too much water through them and wilts before it can root. The balance is two or three leaves at the top, with the lower leaves removed.
Five decisions before you cut
Most cutting failures are decided before the scissors come out. Run through this checklist first:
- Is the parent healthy? Only propagate from healthy, vigorously growing plants. Iowa State is blunt about this, and experience backs it up: cuttings from a stressed or sick parent root slowly, fail often, and carry the parent's problems with them. If the parent has pests, yellowing leaves, or root trouble, fix that first.
- Is it the right time? Early spring is ideal — the plant is entering active growth, days are lengthening, and the cutting has a full season ahead. Most houseplants can be propagated any time of year, but winter cuttings root more slowly and rot more easily.
- Which stem? Choose a healthy stem that is firm but not woody — new growth from this season is best. Avoid stems that are flowering (the plant is putting energy into flowers, not roots), stems with damaged or yellowing leaves, and the very tip if it is soft and floppy.
- How long? Aim for 8–15 cm (3–6 inches) with at least two nodes. Shorter cuttings dry out too fast and have too little stored energy. Longer cuttings are hard to support, lose too much water, and are more likely to wilt.
- Which medium? Decide before you cut, because the cutting should go into its medium within minutes, not hours. Water, soil, perlite, and moss all work — the comparison is below.
One more step that most guides skip: water the parent plant the day before. A cutting taken from a well-hydrated plant has water stored in its stem and leaves, and it can survive the days before roots form. A cutting taken from a thirsty plant starts the race already dehydrated.
The cut, step by step
Use clean, sharp scissors or secateurs. A clean blade matters — a dirty blade introduces bacteria into the wound, and a blunt blade crushes the stem instead of cutting it, which invites rot. I wipe my secateurs with rubbing alcohol before every cutting session.
- Find your nodes. Identify at least two nodes on the stem you have chosen. The cut goes just below the lower node.
- Cut just below a node, at an angle. The angled cut does two things: it increases the surface area for rooting slightly, and — more importantly — it marks which end is the bottom. If you are taking stem sections (pieces from the middle of a stem, with no tip), the angled cut is the only thing that tells you which way is up. Remember my tradescantia.
- Remove the lower leaves. Strip off any leaves that would sit below the surface of the medium, and any flowers or buds. Leave two or three leaves at the top. If the remaining leaves are very large, you can cut them in half across the middle to reduce water loss — this looks brutal but it works, and it is standard practice for large-leaved cuttings like ficus.
- Treat with rooting hormone if you want to. Dip the cut end in rooting hormone powder or gel, tapping off the excess. It is optional for easy rooters and helpful for slow or woody plants. Do not dip cuttings directly into the original container — pour a little into a separate dish, because dipping a cutting into the jar can contaminate the whole supply. For the honest picture on whether it helps, see does rooting hormone actually work?.
- Insert into the medium immediately. Push the cutting into the medium so at least one node is buried and no leaves are below the surface. Firm the medium gently around the stem. If you are rooting in water, make sure the node is submerged and the leaves are above the waterline.
Rooting mediums compared
There is no single best medium — there is a best medium for each situation. Here is how the four common options compare:
| Medium | How it works | Pros | Cons | Best for |
|---|---|---|---|---|
| Water | Node submerged in a jar | You can watch roots; easy to spot rot; no supplies needed | Roots are coarser and adapt slowly to soil; needs a careful transplant | Beginners; pothos, philodendron, tradescantia |
| Potting mix | Node planted in moist mix | Roots grow soil-ready; no transplant shock | You can't see progress; easy to overwater | Most houseplants; cuttings you want to pot up directly |
| Perlite | Node in damp perlite | Excellent air/water balance; Iowa State calls it a great rooting medium | Holds no nutrients; cuttings need potting up once rooted | Cuttings that rot easily; ficus, hoya |
| Sphagnum moss | Node wrapped in damp moss | Holds moisture evenly; roots grow thick and strong | Needs monitoring; can stay too wet | Valuable cuttings; monstera, philodendron |
For a full head-to-head comparison of the three most popular mediums, with timed results, see water vs soil vs sphagnum moss.
My default for most cuttings is a light potting mix with extra perlite mixed in — roughly two parts mix to one part perlite. It holds moisture without staying soggy, it has enough structure to support the cutting, and the roots that grow in it are ready for a pot from day one. I use water when I want to watch, or when I am rooting something I am unsure about and want to see what is happening.
The environment: humidity, light, warmth
The medium gets all the attention, but the environment around the cutting matters just as much. A cutting has no roots, which means it cannot replace the water its leaves lose. Until roots form, the cutting is slowly drying out — and your job is to slow that drying enough for roots to grow first.
Humidity is the biggest factor. Iowa State calls high humidity essential for successful rooting, and it is the variable most people get wrong. A cutting in dry indoor air loses water faster than it can cope with, wilts, and either dries out or rots. The fix is simple: cover the pot with a clear plastic bag or a plastic dome, held off the leaves with a couple of sticks or a wire hoop so the plastic does not touch the foliage. This creates a humid microclimate around the cutting. Open the bag for a few minutes every day or two to let fresh air in — a sealed bag with no airflow grows mould.
Light: bright and indirect, for 4–6 hours a day. The cutting needs light for photosynthesis — its leaves are its only food source — but direct sun through a window or a plastic bag will cook it. An east-facing windowsill, or a spot a metre back from a south-facing window, is ideal. Too little light slows rooting, and cuttings in dim spots may rot or dry out before roots form.
Warmth: 18–24°C (65–75°F) air temperature. Cuttings root faster in warm air and warm medium. A heat mat set to hold the medium at 24–27°C speeds rooting noticeably, but it is not necessary — a warm room is enough. Avoid cold windowsills in winter; a cutting in cold soil will sit doing nothing for weeks.
One windowsill, five species: a cutting log
To show how different plants behave under identical conditions, I took tip cuttings from five species on the same day in late spring, all rooted in the same perlite-and-mix blend, all in small pots under plastic bags on the same east-facing windowsill. Here is what happened:
| Species | Cutting size | First roots | Ready to pot | Notes |
|---|---|---|---|---|
| Pothos (Epipremnum aureum) | 12 cm, 3 nodes | Day 7 | Week 3 | Fastest of the five; rooted before the bag came off |
| Tradescantia (Tradescantia zebrina) | 10 cm, 3 nodes | Day 6 | Week 3 | Roots visible through the pot drainage hole by day 10 |
| Philodendron (Philodendron hederaceum) | 12 cm, 2 nodes | Day 12 | Week 4 | Steady; the aerial root nub at the node rooted first |
| Hoya (Hoya carnosa) | 10 cm, 2 nodes | Day 21 | Week 6 | Slowest to start, but the roots were thick and strong |
| Jade plant (Crassula ovata) | 8 cm stem section | Day 18 | Week 5 | Needed the driest medium; the first cutting rotted from overwatering |
The spread is the lesson: under identical conditions, the fastest plant rooted in six days and the slowest in three weeks. If you are rooting a plant for the first time and nothing has happened after two weeks, that does not mean it has failed — it may just be a slow rooter. The pothos on the same shelf is not the standard; it is the exception.
The jade cutting also taught me something: succulent cuttings want a drier medium than tropical cuttings. The first jade cutting rotted because I watered it like the pothos. The second, in barely damp mix, rooted without fuss. Match the medium moisture to the plant, not to a universal recipe.
Troubleshooting: what goes wrong
| Symptom | Likely cause | What to do |
|---|---|---|
| Stem turns brown and mushy at the base | Rot from too much water or buried leaves | Cut back to firm stem, let it dry for a few hours, restart in fresh, drier medium |
| Leaves wilt within days | Too dry, too much light, or too many leaves | Increase humidity (bag or dome), move out of direct sun, trim large leaves in half |
| Nothing happens for weeks | Too cold, too dim, or a slow species | Move to a warmer, brighter spot; be patient — hoya and woody plants take 4–6 weeks |
| Leaves yellow and drop | Normal for one leaf; stress if several | One yellowing leaf is the cutting redirecting energy; several means check water and light |
| White mould on the soil or stem | Stagnant, humid air with no airflow | Open the bag daily; remove mouldy material; improve air circulation |
| Roots grow, then the cutting collapses | Roots too weak, or potted up too early | Wait until roots are 2–3 cm with side branches before potting; keep soil moist for the first two weeks after potting |
| New growth appears but no roots | The cutting is using stored energy | New leaves before roots are common; keep conditions steady and roots will follow |
The most important troubleshooting skill is patience. A cutting that looks unchanged for three weeks is often rooting underground, and disturbing it to check — pulling it out of the medium, tugging on the stem — breaks the fragile new roots and sets it back to the start. Check for roots by looking through a clear pot or drainage hole, or by watching for new leaf growth, which is the most reliable sign that roots have formed.
Frequently asked questions
How long should a stem cutting be?
About 8–15 cm (3–6 inches) with at least two nodes. Shorter cuttings dry out too fast; longer ones are hard to support and lose too much water through their leaves.
How long do stem cuttings take to root?
Most houseplant stem cuttings root in 3–6 weeks in warm, bright, humid conditions. Fast rooters like pothos and tradescantia can show roots in a week; woody plants take longer.
Do stem cuttings need rooting hormone?
No, most easy houseplants root fine without it. Rooting hormone helps with slow or woody plants, and it does not hurt — but it is not the difference between success and failure for pothos, philodendron, or tradescantia.
Why do my stem cuttings keep rotting?
Usually too much water, too little light, or a cutting with buried leaves. Leaves under the soil or water surface rot first, and the rot spreads to the stem. Keep leaves above the medium and the medium moist, not wet.
Can you take stem cuttings in winter?
You can, but they root more slowly and rot more easily. Early spring is the ideal time; most houseplants can be propagated any time of year if they are healthy and actively growing.
Stem cuttings are the core propagation skill — once you can take a cutting that roots, you can multiply most of the plants on your shelves. The easiest place to start is propagating pothos in water, and the method scales up to anything with a stem and a node.
If you remember one thing… — cut below a node, keep the leaves above the medium, and give the cutting humidity: the rest is patience.